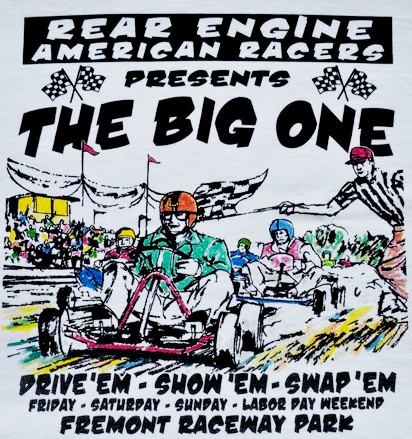
2025 The Big One – August 29th thru 31st
The 24th annual The Big One is on for Saturday August 29th. thru Sunday August 31st. 2025, in Fremont Ohio!! Visit the REAR forum for more event information.
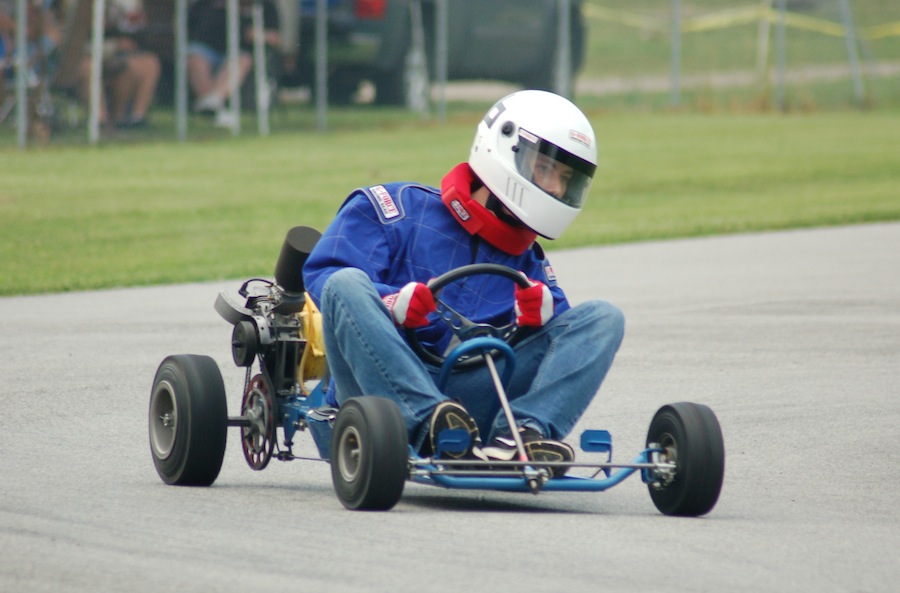
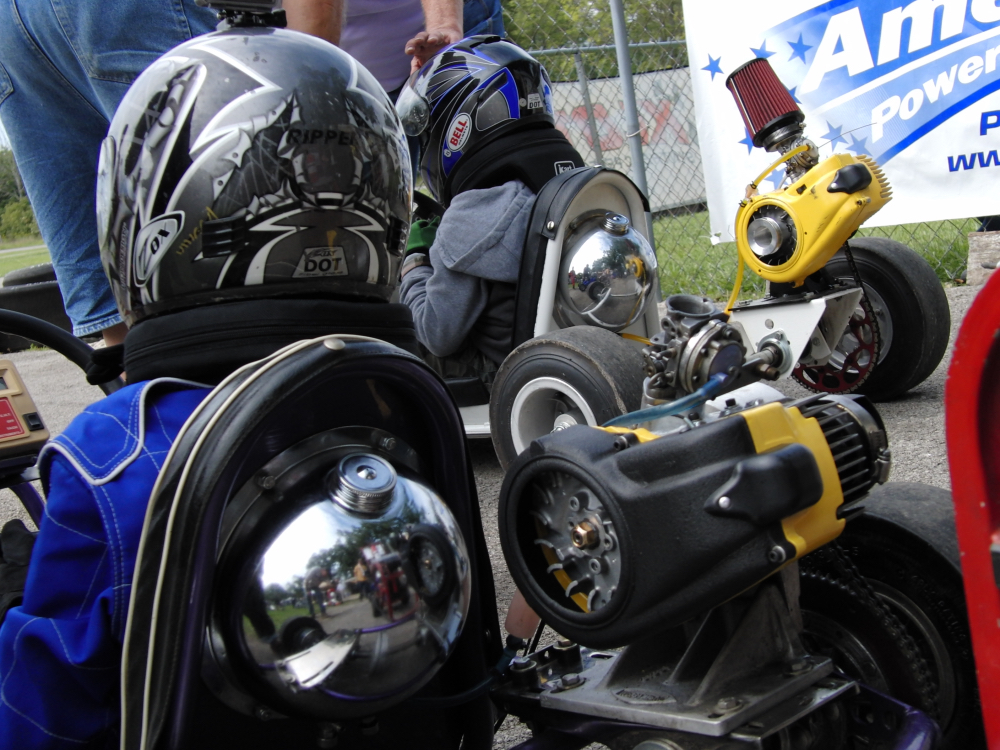
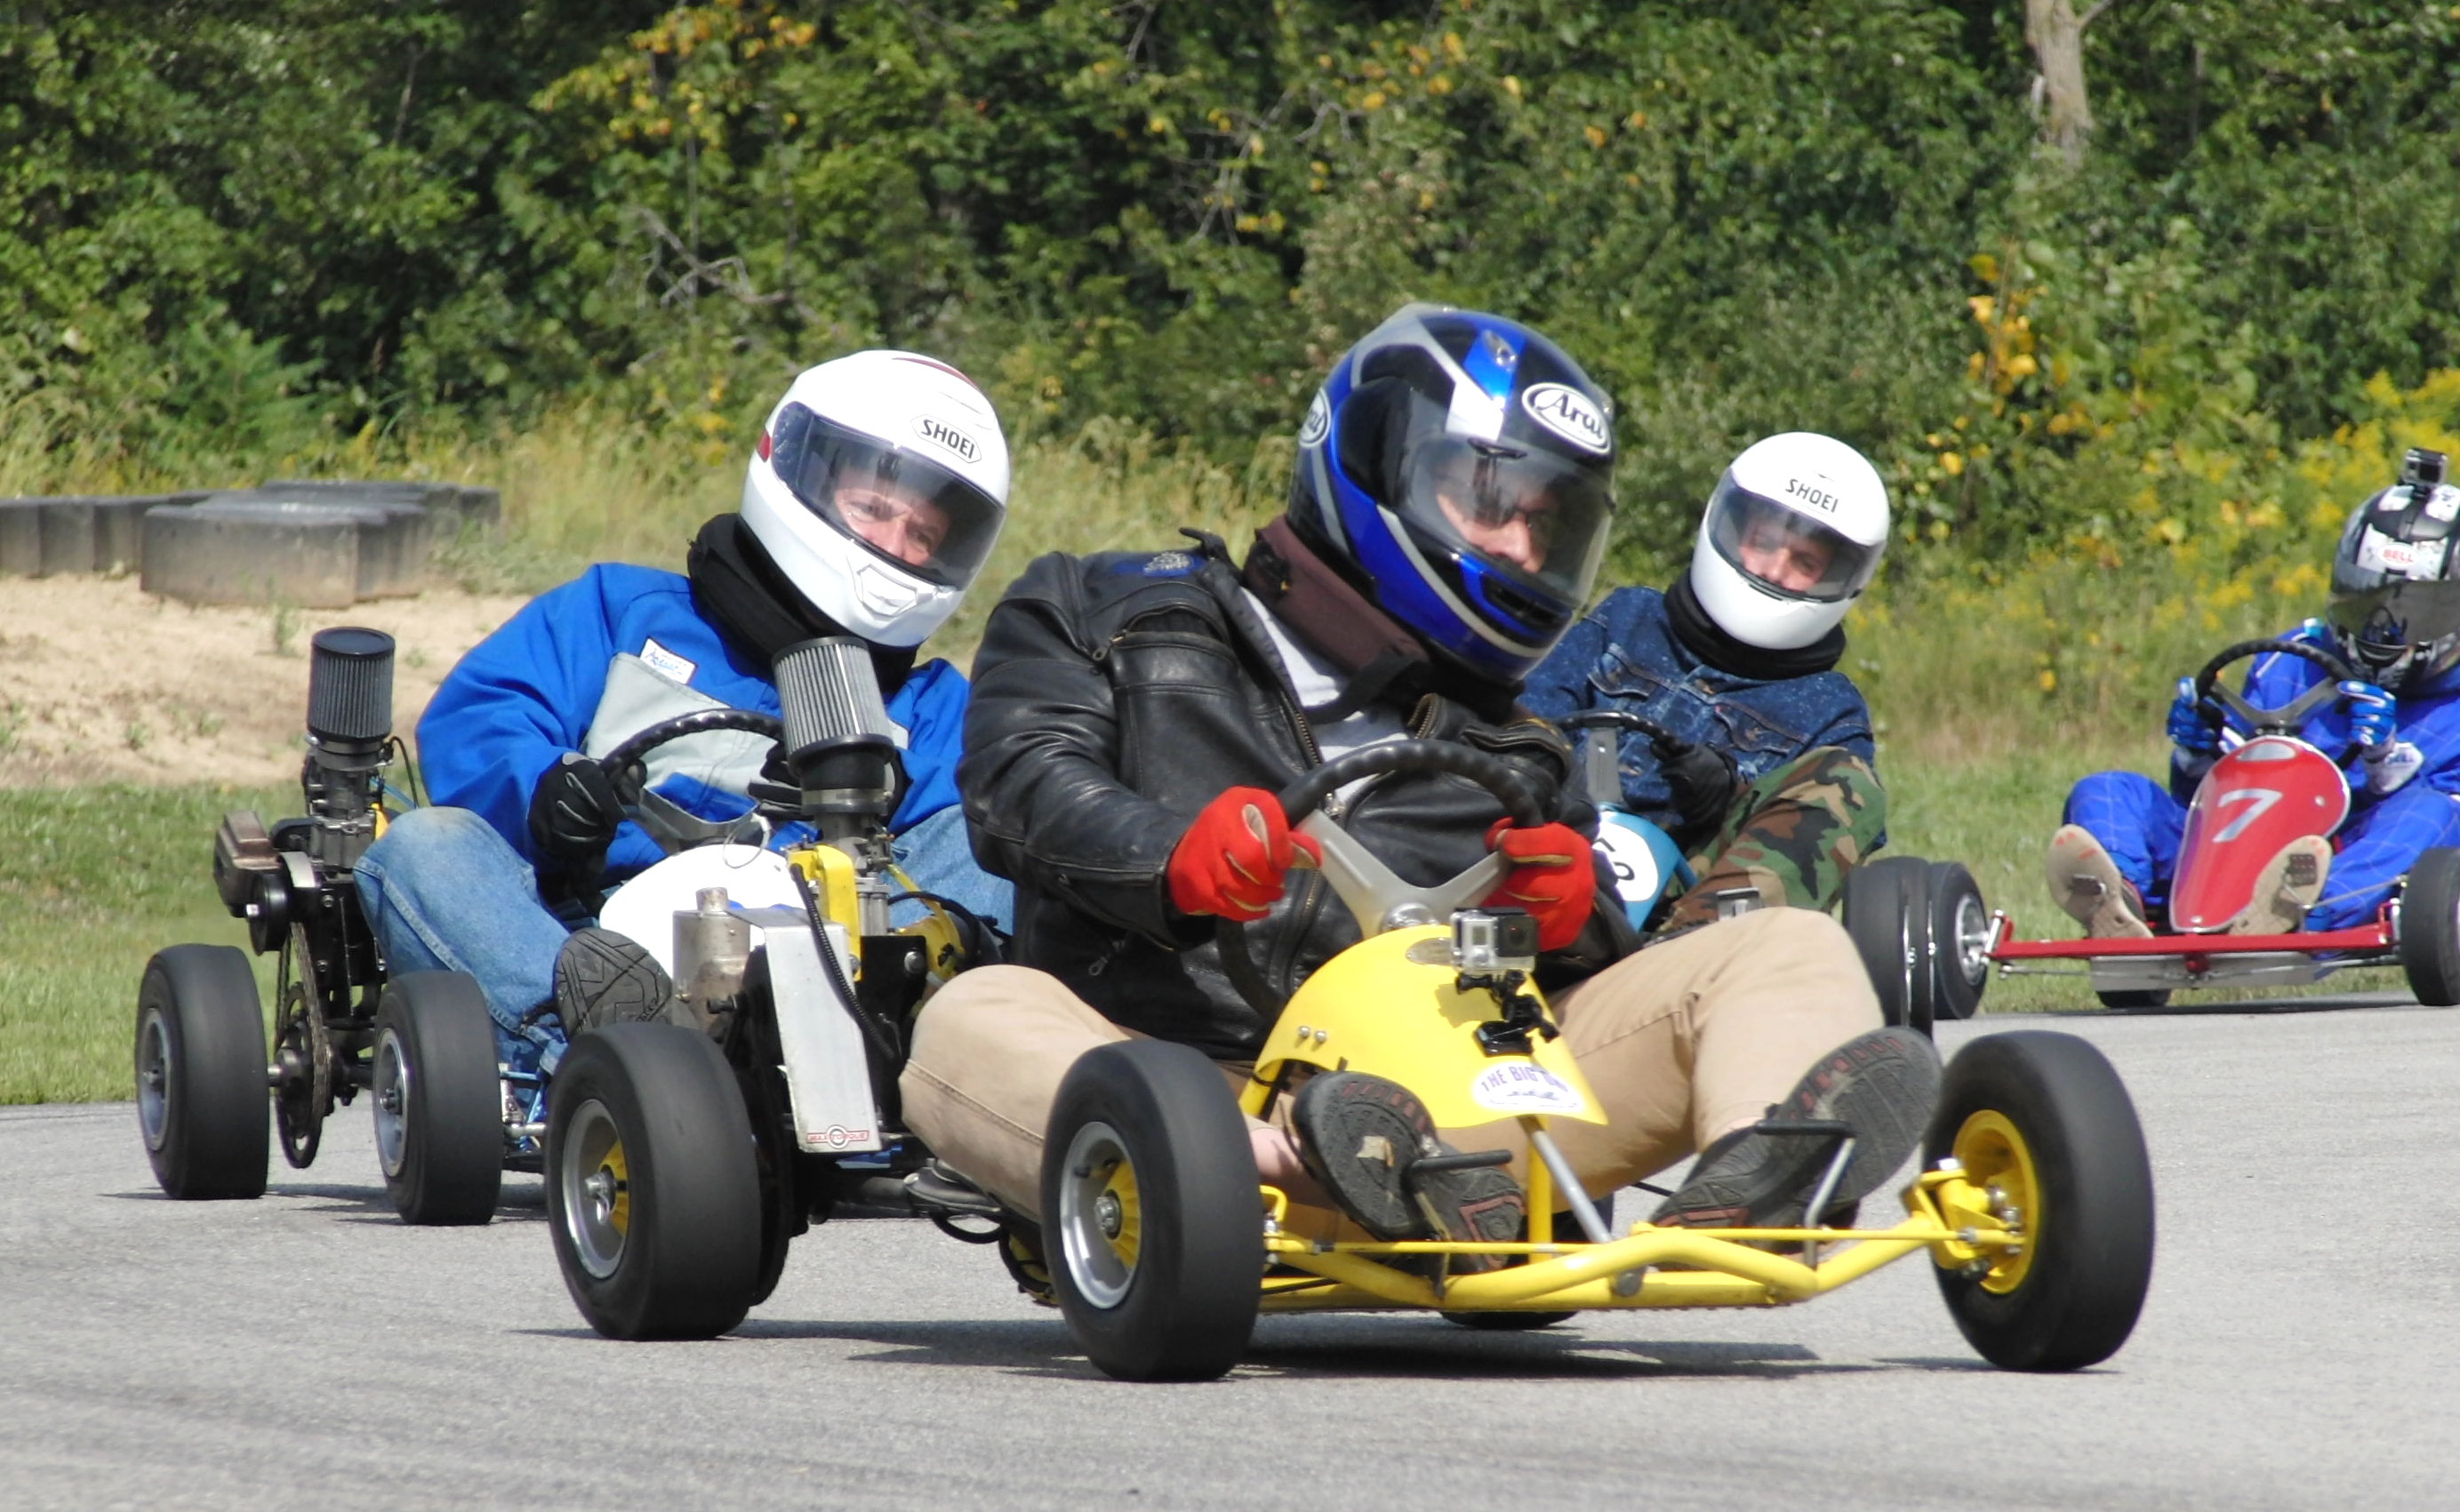
The Big One 2017 – Another Labor Day weekend event has come and gone .. the 16th Annual TBO was held Sept 2 &3, 2017 at Fremont Raceway Park, in Fremont Ohio.
155 Photos by Jeff Campbell (click here)


September 5 & 6th, 2015, the 14th annual “The Big One” – was a great year for vintage karts in Fremont Ohio…
2014 Event, was the 13th Annual “The Big One” was held Labor Day Weekend Sat & Sun, August 30-31st, 2014
Hundreds more photos at this link: TBO 2014 – Photos by Jeff Campbell
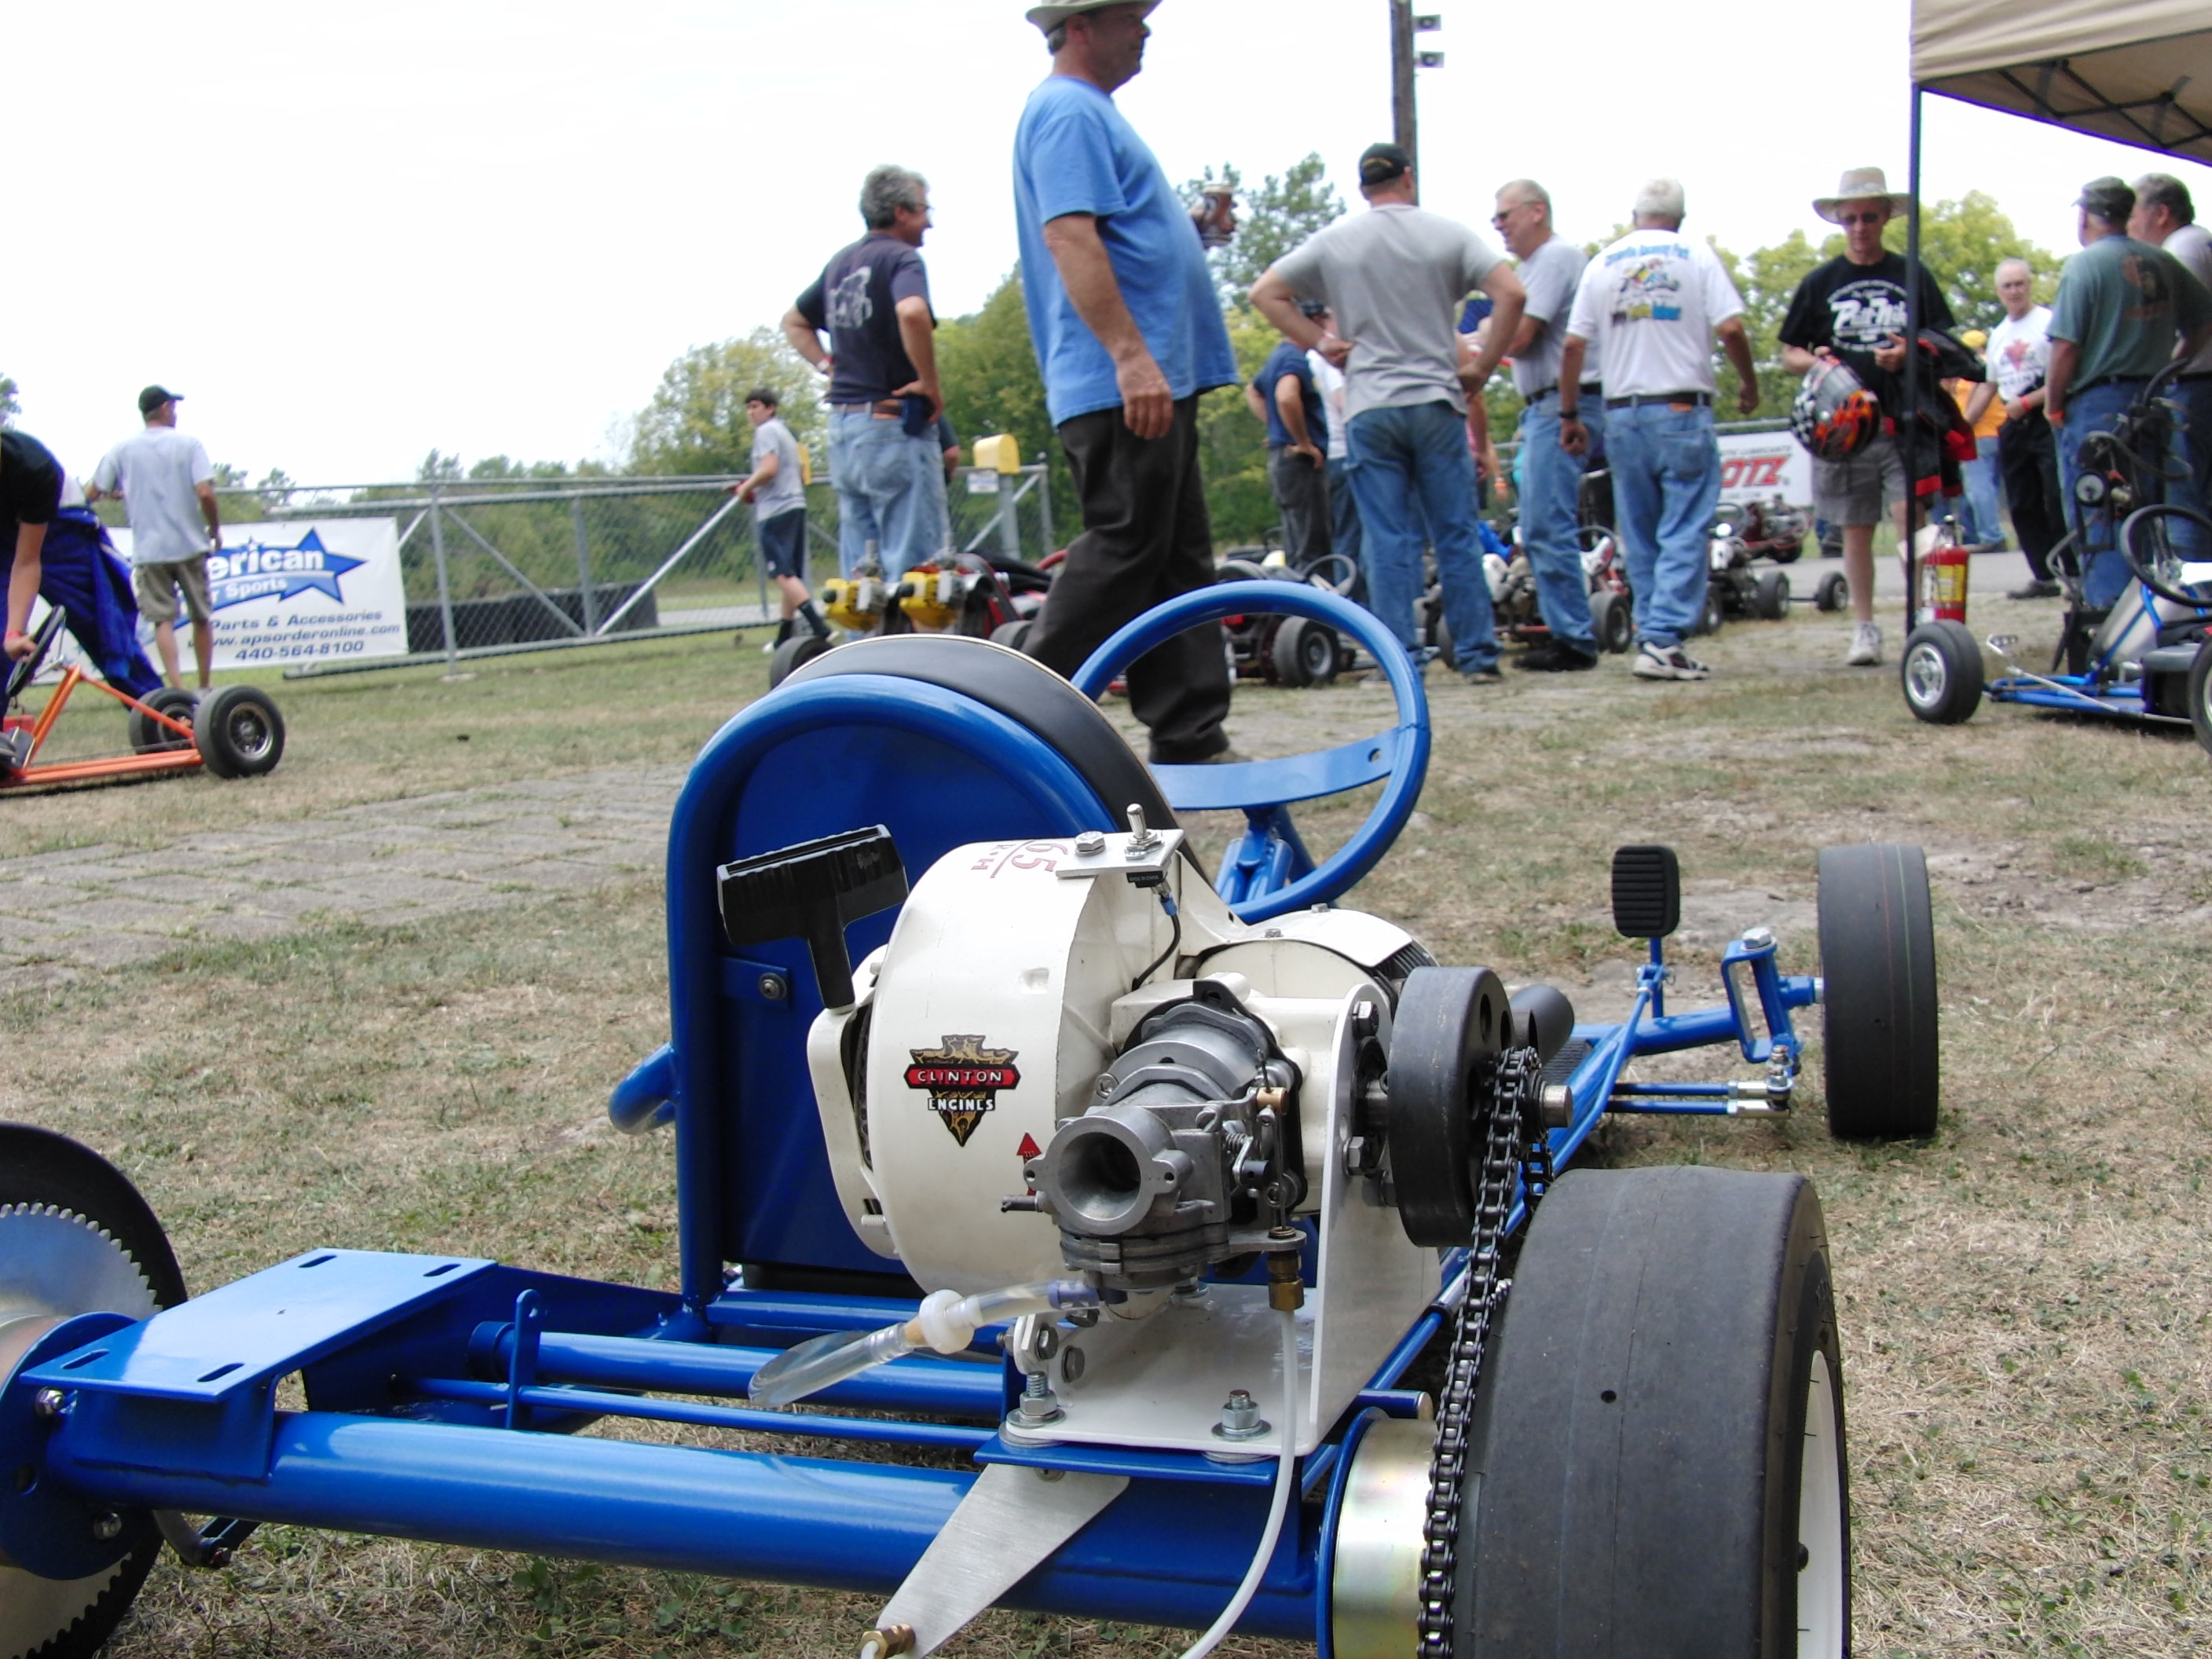

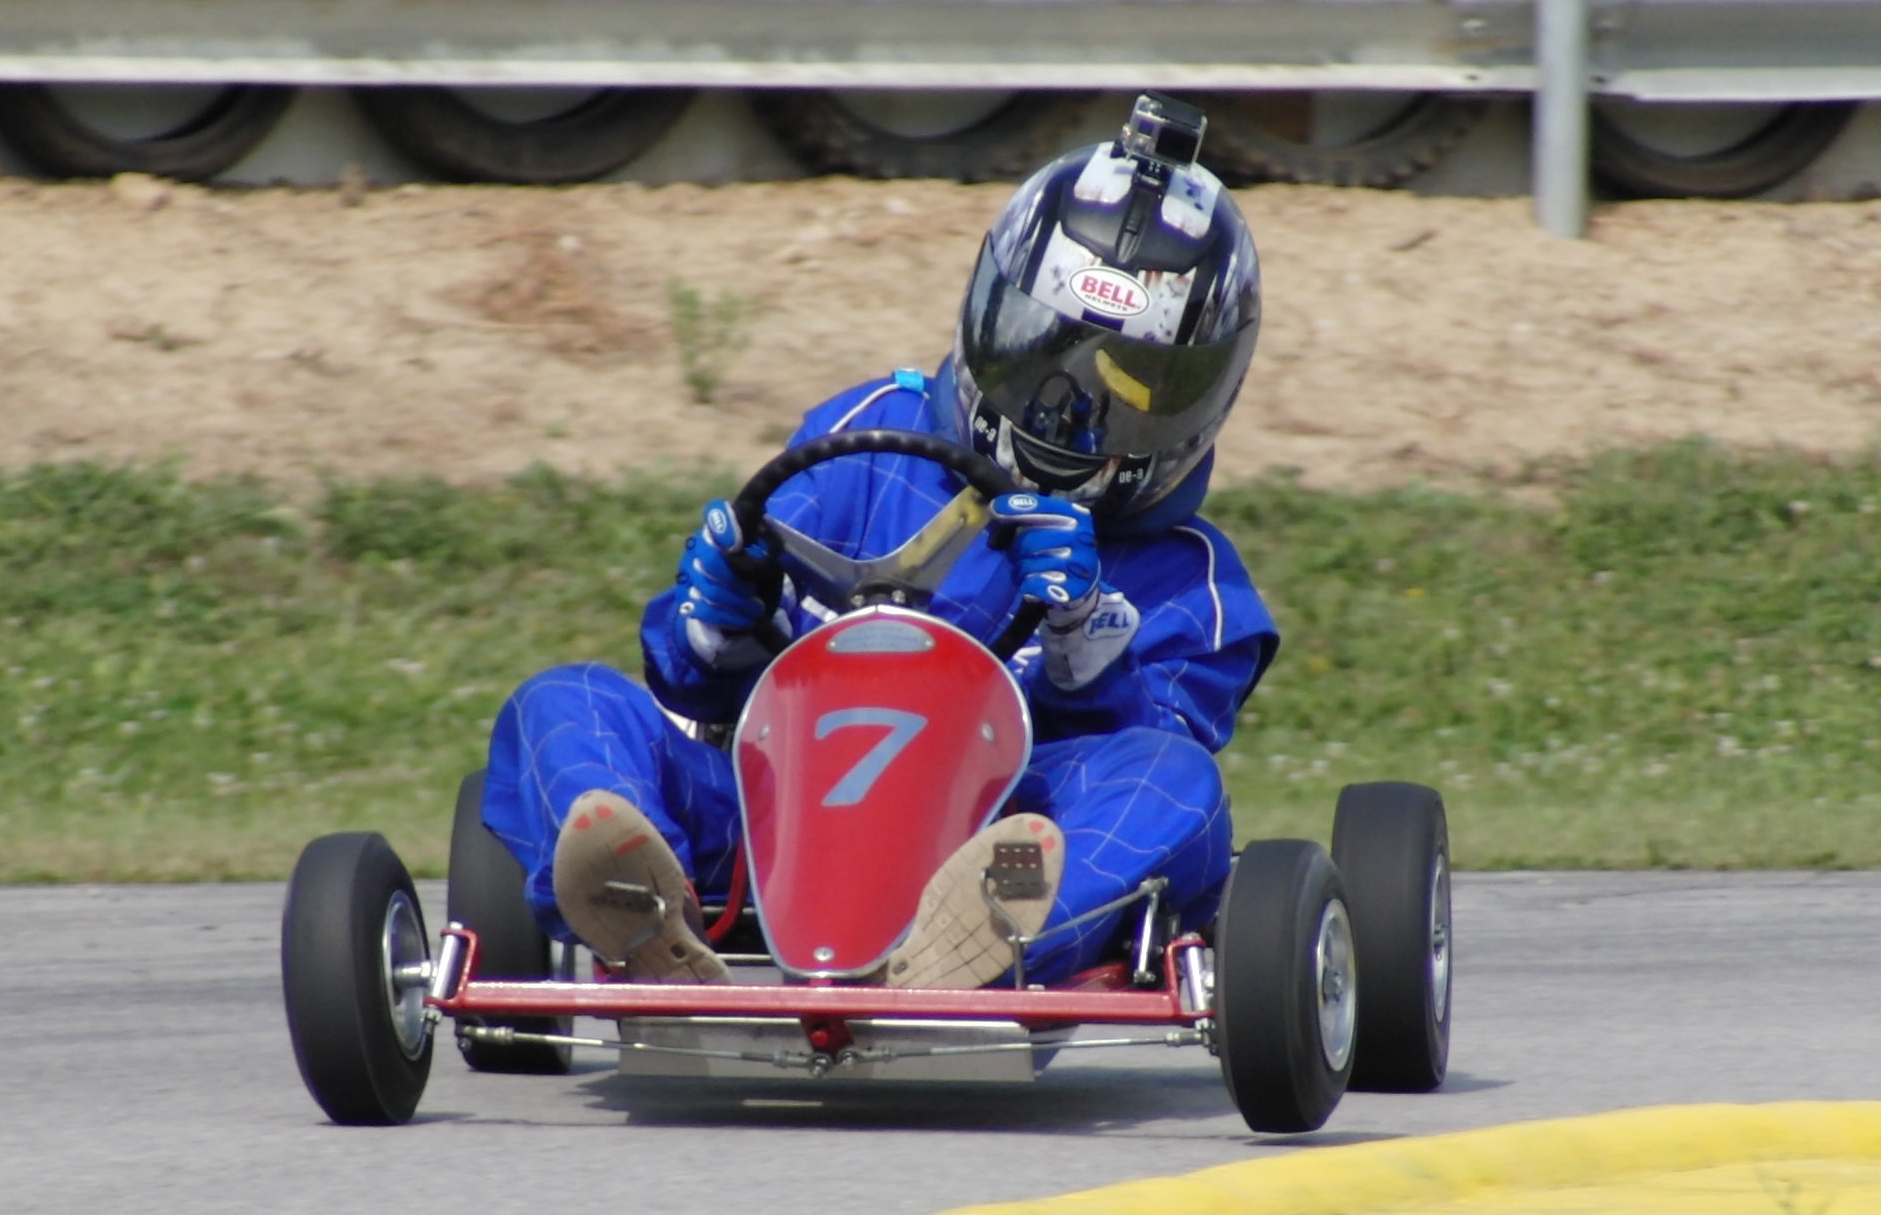
12th Annual “The Big One” was held Labor Day Weekend Sat & Sun, 2013 at Fremont Raceway Park located at 708 Bartson Road in Fremont OH.